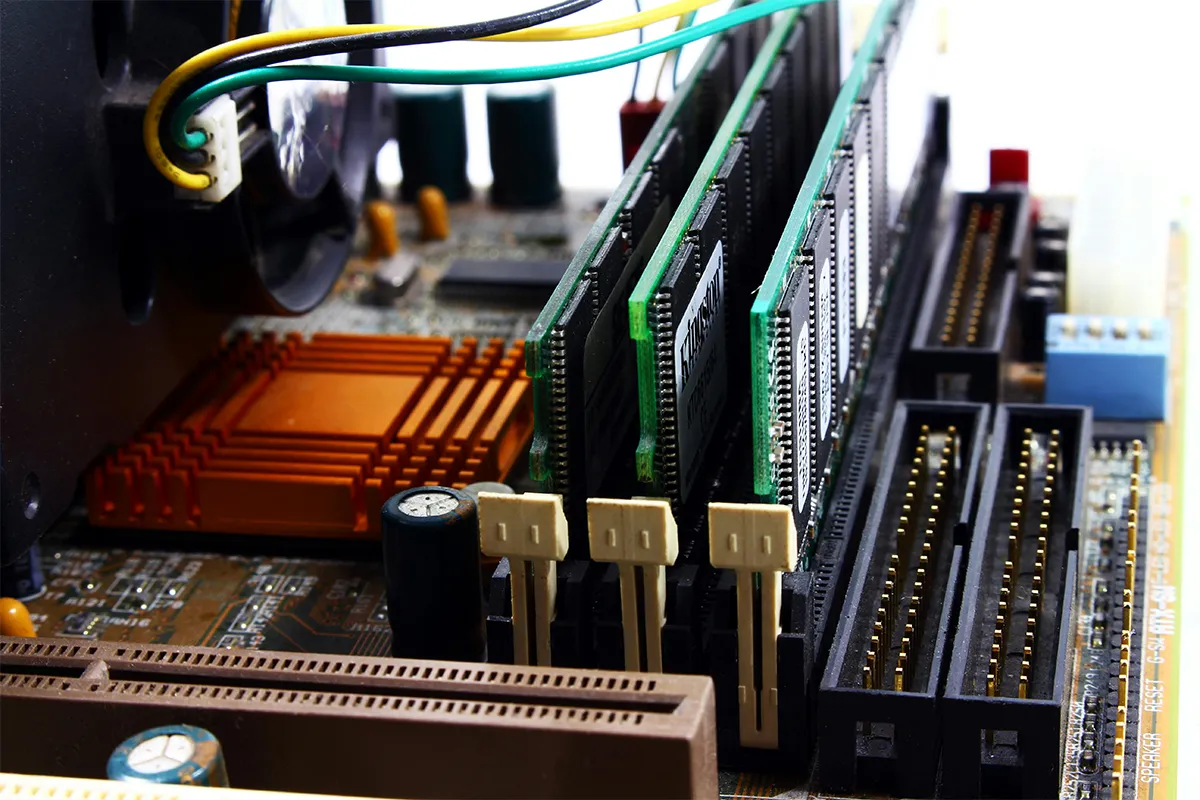
We see a new Windows every after 3 to 5 years. The newer version comes with ultra-advanced features and graphics. It uses 100x more RAM (Random Access Memory) than its predecessor. To support the new and heavy graphics and to ensure that your computer runs smoothly, it is a must to have a strong RAM backup installed on your PC.
Even when you have compatible and enough RAM power installed, your computer becomes slow after some time. You would have noticed that your PC does not work as efficiently as it did when you installed a new Windows. To tackle this problem without upgrading your RAM, you need good tools. CL Debloat is developed by CompanionLink. This tool is specifically designed to optimize Windows 11 performance without a RAM upgrade. It optimizes Windows appearance and user interface and deletes bloatware to give you a faster Windows.
Step 1: Download CL Debloat
1. Visit the Official Source: Download CL Debloat from its official website.
2. Install the Application: Follow the installation guide on the website to install the tool on your computer.
3. Get Used to the Interface: You can launch the tool and look at its simple and friendly interface to learn about its features.
Step 2: Prepare Your System
Before you use CL Debloat, you need to do some steps:
1. Create a System Restore Point:
- Open the Control Panel and look for “Create a restore point.”
- Select your system drive, click “Create,” and follow the steps shown.
- This step helps you return your system to an earlier state if it is needed.
2. Back-Up Important Data: You should save important files to an external drive or cloud storage. This action helps to avoid losing data by accident.
Step 3: Remove Unnecessary Applications
1. Launch CL Debloat: Open the tool and go to the “Applications” or “Bloatware Removal” section.
2. Analyze Installed Applications: The tool shows a list of applications that are pre-installed and not needed on your system.
3. Select Apps to Remove: Choose applications you do not use or need. Examples are trial software, pre-installed games, or extra utilities.
4. Confirm Removal: Use the tool’s interface to uninstall the applications you selected. This action will free up system resources and reduce the RAM used.
Step 4: Disable Redundant Services
1. Navigate to Services Management: In the CL Debloat interface, go to the “Services” or “Performance Optimization” section.
2. Review Background Services: The tool shows services that run in the background and tells which ones are safe to turn off.
3. Disable Non-Essential Services: Turn off services like telemetry, diagnostics, and Xbox services if you do not use games.
4. Restart Services If Needed: You have to make sure you do not disable important system services. Use the tool’s restore option to turn back on any important service if necessary.

Step 5: Optimize Visual Effects
1. Adjust Visual Settings with CL Debloat:
- Go to the “Performance Tweaks” section in the tool.
- You need to disable animations, transparency effects, and other graphical enhancements. These features consume memory.
2. Manual Adjustments (Optional): Change these settings manually in the “Performance Options” window in Windows if needed.
Step 6: Clear Temporary Files
1. Use the Built-In Cleanup Tool: CL Debloat has a feature to clear temporary files and system cache.
2. Run the Cleanup Process: Navigate to the “Disk Cleanup” or “Storage Optimization” section in CL Debloat. Then, follow the on-screen prompts.
3. Automate Cleanup: You can set up the tool to perform regular cleanup tasks. This helps to keep your system optimized over time.
Optimizing Windows 11 with CL Debloat is easy and convenient. This allows you to restore the previous glory of Windows by making it faster and more efficient
Step 7: Test and Monitor Performance
1. Reboot Your System: After you apply all changes, restart your PC. This makes sure everything takes effect.
2. Monitor RAM Usage: Use Task Manager (Ctrl + Shift + Esc) to check your RAM usage. You can verify the improvements this way.
3. Benchmark Performance (Optional): Use benchmarking tools like Geekbench or UserBenchmark to measure the performance enhancements.
Step 8: Fine-Tune Settings
1. Revisit Changes: If you see any issues, use CL Debloat’s “Restore” feature. This helps to undo specific changes.
2. Explore Advanced Features: CL Debloat has advanced options. These options include tweaks for power settings and disabling Cortana for further optimization.
Conclusion
Optimizing Windows 11 with CL Debloat helps to improve your system’s performance. The tool’s easy-to-use interface makes it simple for non-technical users. You can remove unnecessary apps, disable extra services, and change visual effects without trouble. You can free up memory by following these steps. You can improve your multitasking abilities with these steps.
You can experience a faster Windows 11 PC. You must approach optimization tools with caution. Always back up your system. You should make sure that you back up your system. CL Debloat can help with regular maintenance. CL Debloat can give you a better computing experience. You can use CL Debloat carefully.

