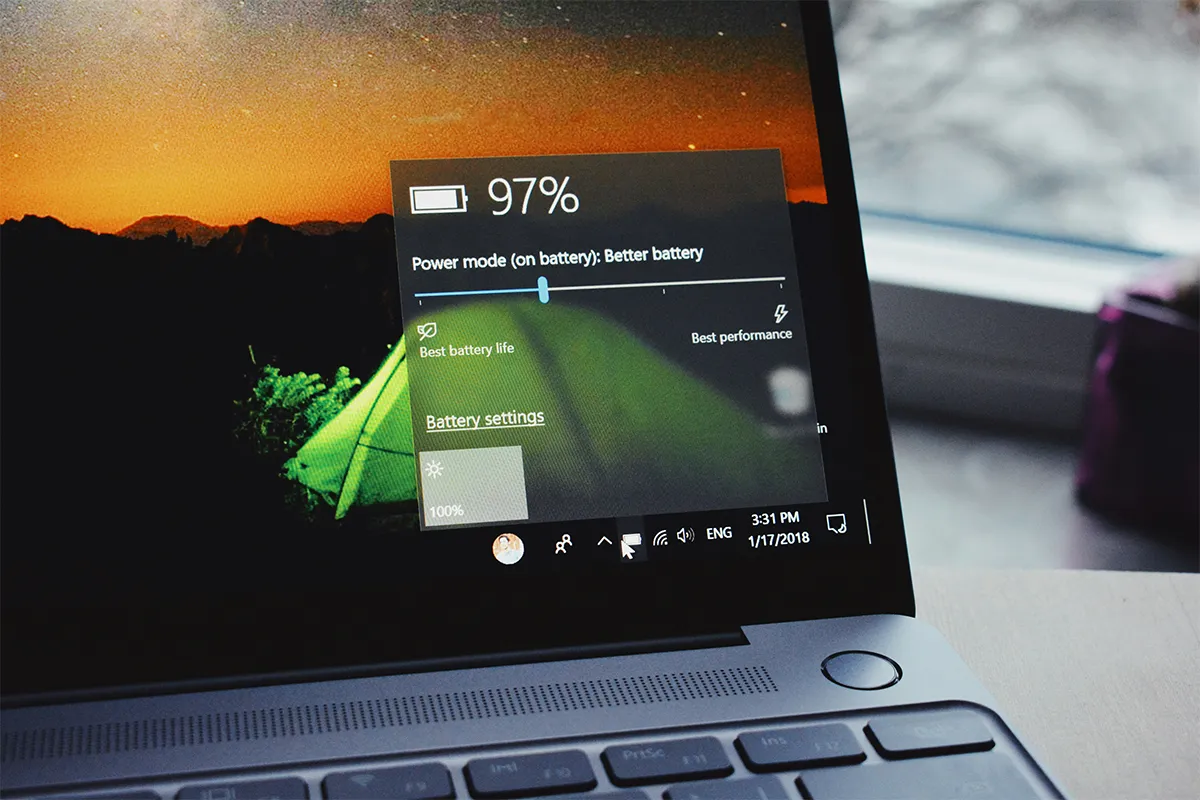
The tech giant Microsoft releases Windows after every 3 to 6 years of duration. The newer version always comes with new features that are visually pleasing and consume a lot of device resources like RAM, processor, and especially battery power. It is noticeable that when shifting from the old to a new Windows version, the laptop becomes slower and consumes unexpected battery power. This reduces the battery power time by almost half. So, there is a cost behind every upgrade.
How can you use Windows 11 compatibility with lower resource consumption? Is it possible? The answer is Yes. Restore the previous glory of your operating system by minimizing the visual graphics, removing the ads, and eliminating the bloatware safely. There is no such tool like CL Debloat (CLDB) that does this job perfectly. It is an all-in-one tool that makes Windows 11 run smoother and noticeably faster while ensuring that it is not corrupted or encounters any error.
Using CL Debloat is super easy. The tool is made by a trusted developer, CompanionLink, which has been in business since 1987. CLDB is an entirely safe and lightweight tool that can be downloaded with an easy user interface.
Step 1: Download and Install CL Debloat
First, you need to download and set up CL Debloat.
- Visit the CL Debloat knowledgebase to download the latest version.
- After you download it, open the installer named “CLDebloatSetup.exe.” Follow the on-screen instructions to install the program.
- After you install it, click the CL Debloat icon on your desktop to open the application.
Step 2: Customize Visual Settings
Visual features in Windows 11 use a lot of power and graphic resources. The “Visual” tab in CL Debloat helps you simplify and optimize your interface. This will reduce resource use and save battery life.
Key Visual Optimizations:
1. Align Taskbar Left:
- Check the “Align Taskbar Left” box.
- Then, click “Apply.” This will minimize graphic changes and make it look like Windows 10.
2. Square Window Corners:
- You need to check the “Square Window Corners” box.
- Next, click “Apply.” This will reduce graphic demands for rendering windows.
3. Disable “Show More” in Context Menu:
- Check “Disable ‘Show More’ in Context Menu.”
- Then, click “Apply.” This will restore the full right-click menu and make you click less.
4. Hide “Search” and “Task View” from Taskbar:
- Check “Hide ‘Search’ from Taskbar” and “Hide ‘Task View’ from Taskbar.”
- Then, click “Apply.” This will make the taskbar cleaner and will use fewer system resources.
5. Show All File Extensions and Hidden Folders:
- Check the “Show All File Extensions” and “Show Hidden Folders” options.
- Then, click “Apply.” This helps you manage files better without reducing performance.
6. Disable Context Menu Clutter:
- Select options like “Disable ‘Give Access,’” “Disable ‘Include in Library,’” and “Disable ‘Share.’”
- Click “Apply” for each option.
Step 3: Remove Bloatware
Bloatware is a pre-installed application with features that do not help but waste resources. Removing these can make your battery last longer.
Steps to Remove Bloatware:
1. Access the “Bloat” Tab: Open the “Bloat” tab in CL Debloat.
2. Select Bloatware to Remove:
- Windows Recall: Prevents recording screenshots of activity.
- Chat in Taskbar: You can remove the Microsoft Teams chat icon.
- Copilot: This disables the AI assistant for users who do not use it.
- Game Bar: Turns off the gaming overlay.
- Widgets and Recommended Panels: Declutter the Start Menu.
- Legacy Folders: Hides unused folders. These folders include 3D Objects, Music, Gallery, and OneDrive.
3. Apply Changes: Check the boxes for features you wish to disable. Then click “Apply.”

Step 4: Remove Ads and Telemetry Tracking
Windows 11 has ads and telemetry features. These features compromise privacy. They also consume batteries by running background tasks. The “Ads” tab in CL Debloat makes it easy to disable these functions.
Key Steps to Remove Ads:
1. Disable telemetry and ads:
- Check options like “Disable Telemetry Tracking.”
- Also, check “Disable Personalized Ads.”
- Check “Disable Ads from Diagnostic Data.”
- Click “Apply” to stop background data collection. This will also stop ad targeting and increase the speed.
2. Eliminate Lock Screen and Search Ads:
- Disable options such as “Lock Screen Ads.” Also, disable “Ads in Search.”
- Check “Disable Bing Results” to streamline the search.
3. Remove Widgets and Tips:
- Check “Disable Taskbar Widgets.” Also, check “Disable Tips and Suggestions.”
- Click “Apply” to reduce distractions and system usage.
Step 5: Test and Monitor Battery Performance
After making changes, it is important to assess their impact on battery life to analyze their performance.
1. Generate a Battery Report:
- Open Command Prompt. Type powercfg /batteryreport.
- You should review the report to understand changes in battery consumption.
2. Monitor Usage: Go to “Settings > Power & Battery > Battery Usage.” This shows which apps consume the most energy.
3. Adjust as Needed: Suppose some settings do not suit your workflow; relaunch CL Debloat. Then, uncheck the options and reappear the changes.
Step 6: Regular Maintenance
To ensure long-term efficiency, revisit CL Debloat and check for updates periodically.
1. Update CL Debloat: Download the latest version. This will give you access to new features and improvements.
2. Reapply Settings: Check that all the settings you set before are still good after updates.
3. Uninstall When Necessary: Uncheck all the settings if you want to remove CL Debloat.
Conclusion
Improving battery performance in Windows 11 is an important step. It helps your device work better and last longer. Using CL Debloat helps you use less power. It makes the operating system faster and removes things that bother you. This tool makes a hard job easier. It helps make your system fit your work needs.
You can take charge of your Windows 11 today. You can download CL Debloat to have a faster, better, and battery-saving system.

