

In this age of information, timely data collection plays an important role in the success of startups and even well-established businesses. Data is the key to growth, progress, efficiency, and productivity. When you have easy and fast access to the correct data, you can outperform your competitors and get more done in no time. Learning completely about the ScrapingBee post request, you can keep pace with the competition and be more productive, which should be the focus.
ScrapingBee Post Request sends data to a site through ScrapingBee. You add an API key and target URL. Then ScrapingBee forwards your form fields or JSON body to that URL, and the site replies. After that, you get the same reply from ScrapingBee. Use this for login forms, API posts, and search forms. It helps when a page checks cookies or special headers. With a clean call, the flow stays simple. For small jobs, this method keeps things neat and clear.
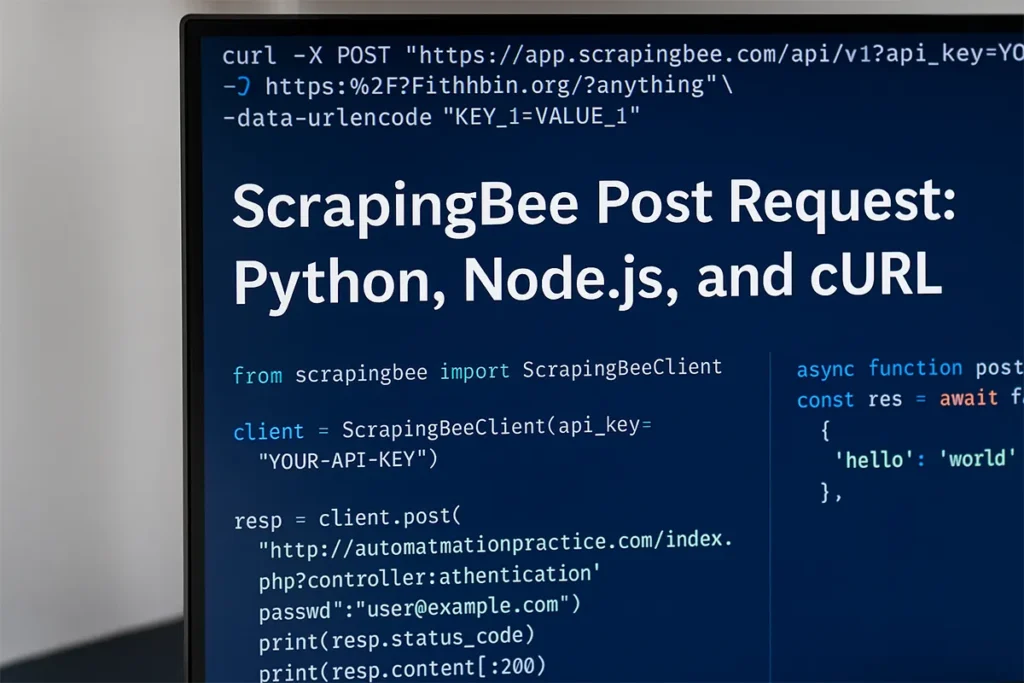
This post covers the steps. Python, Node.js, and cURL show the idea with working lines. You will send JSON or form data, set headers, and reuse cookies with a session_id. For speed, you will see render_js=false when a page does not need a browser. You will also handle a redirect after POST and a 403 reply. Small checks guide each step, so you can test first and then move to real pages with care.
How the flow works
To begin, you prepare three things. You need your API key. You choose the ScrapingBee endpoint. You set the target URL.
Now look at the steps.
You send a POST to ScrapingBee with your key and the target. ScrapingBee forwards your body. The website replies. You receive the reply from ScrapingBee. Each step is plain. Each step is easy to trace.
When to use this method
Sometimes a website wants form fields. Sometimes it wants JSON. A ScrapingBee Post Request handles both shapes. You can test with a small page first. After that, you can post to the real site.
Use this method when you need any of these tasks:
- Submit a login form.
- Send a JSON body to an API.
- Keep cookies across two or three calls.
- Try a quick check with cURL before writing code.
- Control headers for a picky site.
Setup checklist
Here is a short list you can copy. To run the examples smoothly, you may first install ScrapingBee using pip or npm, depending on your chosen language.
- API key from your ScrapingBee account.
- Base endpoint: https://app.scrapingbee.com/api/v1.
- Full target URL that should receive your POST.
Helpful options:
- Set render_js=false when the page does not need a browser. This keeps requests fast and low-cost. You will see this inside the body as scrapingbee render_js false to guide readers.
- If a page needs scripts to run, Scrapingbee JavaScript can load content and then send your POST.
- Pass a session_id if you want the same IP for a short run, such as login and fetch.
- Add header forwarding only when you really need custom headers.
Python example that you can run today
First, a form login with simple fields.
from scrapingbee import ScrapingBeeClient

client = ScrapingBeeClient(api_key="YOUR-API-KEY")

resp = client.post(
    "http://automationpractice.com/index.php?controller=authentication",
    data={"email": "user@example.com", "passwd": "your-password"}
)
print(resp.status_code)
print(resp.content[:200])
For detailed setup steps and official examples, you can follow the ScrapingBee guide for Python here:
Notice the field names. They must match the page form. Open DevTools. Submit once. Copy the field names. Then paste those names into your code.
Next, a small JSON post to a test endpoint.
from scrapingbee import ScrapingBeeClient

client = ScrapingBeeClient(api_key="YOUR-API-KEY")

resp = client.post(
    "https://httpbin.org/anything",
    json={"name": "Ada", "role": "engineer"},
    headers={"Content-Type": "application/json"}
)
print(resp.status_code)
print(resp.content[:200])
Readers often look for a scrapingbee post request Python example. This block answers that search. It is short. It is ready to paste.
Node.js example with two clear options
Some teams like the SDK. Other teams like the raw HTTPS call. Both are fine. Choose what fits your codebase.
Option A. SDK with a JSON body:
const scrapingbee = require('scrapingbee');
const client = new scrapingbee.ScrapingBeeClient('YOUR-API-KEY');

async function postJson() {
  const res = await client.post({
    url: 'https://httpbin.org/anything',
    data: { hello: 'world' },
    headers: { 'Content-Type': 'application/json' }
  });
  console.log(res.status);
}
postJson().catch(console.error);
Each part sits in one place. Your URL, your data, your headers. It reads well. It is simple to change.
Option B. Raw HTTPS request to the HTML API:
const https = require('https');

const url = encodeURIComponent('http://automationpractice.com/index.php?controller=authentication');
const options = {
  hostname: 'app.scrapingbee.com',
  path: `/api/v1?url=${url}&api_key=YOUR-API-KEY`,
  method: 'POST',
  headers: {
    'Content-Type': 'application/x-www-form-urlencoded; charset=utf-8'
  }
};

const req = https.request(options, res => {
  let data = '';
  res.on('data', chunk => data += chunk);
  res.on('end', () => console.log('Status:', res.statusCode, '\nBody sample:', data.slice(0, 200)));
});

req.write('email=user%40example.com&passwd=your-password');
req.end();
Developers search for a scrapingbee post request node.js guide all the time. This snippet gives that path with no extra layers.
cURL for quick tests and scripts
Many people start with cURL. It is direct. It is honest. It shows what is sent and what comes back.
curl -X POST "https://app.scrapingbee.com/api/v1?api_key=YOUR-API-KEY&url=https:%2F%2Fhttpbin.org%2Fanything" \
  -H "Content-Type: application/x-www-form-urlencoded; charset=utf-8" \
  --data-urlencode "KEY_1=VALUE_1"
Place a short line in your notes that reads scrapingbee curl post request. It helps readers jump to this section when they scan.

JSON or form data
Now consider the target. One endpoint may read JSON only. Another may read classic form data only. Choose the correct shape.
- Use JSON with Content-Type: application/json. Many readers type scrapingbee json body example into a search box. A line with that phrase helps them find this tip.
- Use form data with application/x-www-form-urlencoded. This is common for login forms and search forms.
Unsure which one to choose. Watch the request in your browser. Then copy the fields and the content type.
Forwarding headers without confusion
Some sites check headers. They look for a real User-Agent. They check Accept-Language. You can pass headers with the SDK or with the raw API. Keep names exact. Keep values clean. Include one practical line in your text with scrapingbee forward headers so readers can find this part fast.
Cookies and sessions that stay in place
Many flows create cookies after login. You may need those cookies for a second call. ScrapingBee can send cookies that you pass. You can also hold an IP for a short time with a session_id. Readers search for solid help on this step. A simple line that includes scrapingbee cookies session directs them to the right spot.
JavaScript rendering when needed.
Not every page needs a real browser. A form action or a REST API often returns full data without any script. For those pages, set scrapingbee render_js false. Your calls will be faster. Your cost will be lower. When a page needs a click or a wait, use a small scenario. Keep it tiny. Add only the steps that unlock the content. For full browser steps, Scrapingbee Playwright can open a page, click, wait, and then you can send a POST with the right cookies.
Troubleshooting guide
Even clean posts can hit bumps. Here are quick checks that save time.
- Redirect after POST: Many sites send a 302 to a profile page or a dashboard. Follow the redirect. Store the cookies. One short line with the scrapingbee 302 redirect fix helps readers spot this advice.
- 403 or access denied: Some sites check for stricter headers, region, or proxy type. Shape your headers. Try a stronger proxy plan if needed. Mention scrapingbee 403 error troubleshooting in one sentence so readers can search for it. When a site blocks you, ScrapingBee Premium Proxy can use stronger IPs to reduce 403 errors and keep posts steady.
- Missing content on dynamic pages: If a page builds content in the browser, wait for a selector or a small delay. Disable resource blocking if it hides key parts. Then test again.
- Header forwarding fails: Compare the headers you intend to send with the headers that arrive. Fix names and spelling. Test with a small page first. Keep the loop tight.

Best practices that keep posts stable
Simple habits build strong results.
- Use render_js=false for plain form posts and API endpoints.
- Test with a safe echo page before posting to a live site.
- Reuse cookies after login so you avoid extra credentials.
- Set short timeouts and retries for network spikes.
- Log the status code and a short slice of the body.
- Keep helper functions small so they are easy to review.
- Remove unneeded headers. Fewer moving parts means fewer bugs.
Mini recipes you can copy
cURL form POST:
curl -X POST "https://app.scrapingbee.com/api/v1?api_key=YOUR-API-KEY&url=https:%2F%2Fhttpbin.org%2Fanything" \
  -H "Content-Type: application/x-www-form-urlencoded; charset=utf-8" \
  --data-urlencode "email=user%40example.com" \
  --data-urlencode "passwd=your-password"
cURL JSON POST:
curl -X POST "https://app.scrapingbee.com/api/v1?api_key=YOUR-API-KEY&url=https:%2F%2Fhttpbin.org%2Fanything" \
  -H "Content-Type: application/json" \
  -d '{"hello":"world"}'
Python JSON POST:
from scrapingbee import ScrapingBeeClient
client = ScrapingBeeClient(api_key="YOUR-API-KEY")
resp = client.post(
    "https://httpbin.org/anything",
    json={"hello": "world"},
    headers={"Content-Type": "application/json"}
)
print(resp.status_code)
Node.js form POST:
const https = require('https');
const url = encodeURIComponent('http://automationpractice.com/index.php?controller=authentication');

const req = https.request({
  hostname: 'app.scrapingbee.com',
  path: `/api/v1?url=${url}&api_key=YOUR-API-KEY`,
  method: 'POST',
  headers: { 'Content-Type': 'application/x-www-form-urlencoded; charset=utf-8' }
}, res => {
  let data = '';
  res.on('data', ch => data += ch);
  res.on('end', () => console.log('Status:', res.statusCode, data.slice(0, 200)));
});

req.write('email=user%40example.com&passwd=your-password');
req.end();
These blocks are short and direct. You can paste them into a file. You can run them in a minute. After they pass, switch the URL to your real page.
One simple plan you can trust
Here is a plan that works for most teams. Start with cURL and a test page. Confirm that your body and headers look right. Move to a small Python or Node.js function next. Add cookies when a page needs a session. Pass headers when a site checks for a real browser.Keep render_js=false for simple posts. Use a tiny scenario only when a page truly needs it. With this plan, your posts stay fast, clear, and stable. If you want to compare tools, you can also check a ScrapingBee alternative that may fit special needs or budgets.